
You may be wondering if Amazon Web Services (AWS) is a suitable option for web hosting. AWS is the market leader in cloud and a top choice for web hosting due to its variety of scalable, secure, and budget-friendly cloud computing services. With a diverse selection of services covering computing, storage, and databases, AWS caters to businesses of all sizes, whether SMBs or established corporations. Its worldwide infrastructure guarantees high levels of uptime, quick response times, and effective disaster recovery options. The pay-as-you-go pricing model is highly flexible and allows organizations to optimize expenses based on their specific needs. AWS maintains strong security measures, meets strict compliance requirements, and provides comprehensive documentation and support to help users make the most of its platform.
What you’ll learn in this tutorial
This guide will walk you through how to set up a basic web application on an AWS server. During the process, we will install and set up a web server and database server and then link both the web server and database server so that the web application fetches dynamic data from the database. The first step is setting up an EC2 instance on AWS.
Setting Up an EC2 Instance
To setup an EC2 instance, we first need to create an AWS account. This requires an email address, username, and a valid debit or credit card. Let’s go through the steps of creating an EC2 instance.
How to create an EC2 instance
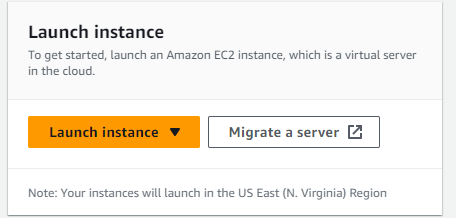
To run your application in the Amazon Cloud, you are required to use an EC2 instance. To create an EC2 instance, you need to log into your AWS account, search for EC2 service in the search bar and then click on “Launch new instance”.
How to choose an appropriate instance type and configuration
Here are some factors that need to be considered when launching an EC2 instance.
Computing requirements: You need to check if your app is CPU intensive, memory intensive or CPU intensive.
Budget: There are many options available for EC2 instances. You can use a spot instance that is cheap but unsuitable for mission-critical workloads. You can buy a reserved instance where you commit to use it for the long term – this is the cheapest option. You can also buy on-demand instance, which is slightly more expensive than reserved instances but suitable for mission-critical workloads.
Instance types: You need to compare the specifications of compute-optimized, memory-optimized, or storage optimized to determine which one you need.
Network performance: If your workload will have high network traffic, consider instances with high network traffic.
Operating system: Do you need Linux or Windows?
How to launch an instance in AWS
- Click on “Launch Instance”
- Select AMI to use as the OS
- Select instance type
- Configure details (e.g. in which VPC do you want the instance to launch? which subnet?)
- Attach elastic block storage
- Launch the instance
Initially, the instance will show the status of “Pending,” but after a few minutes, the status will turn to “Running”.

Connecting to the EC2 Instance
There are different methods to connect to EC2 instances. It depends on whether you have a Linux or a windows instance. If you have a windows instance, you can connect to it using RDC (remote desktop connection). For Linux, you can install putty to connect to the instance.
How to connect to the EC2 instance using SSH Connect
How to set up a private key
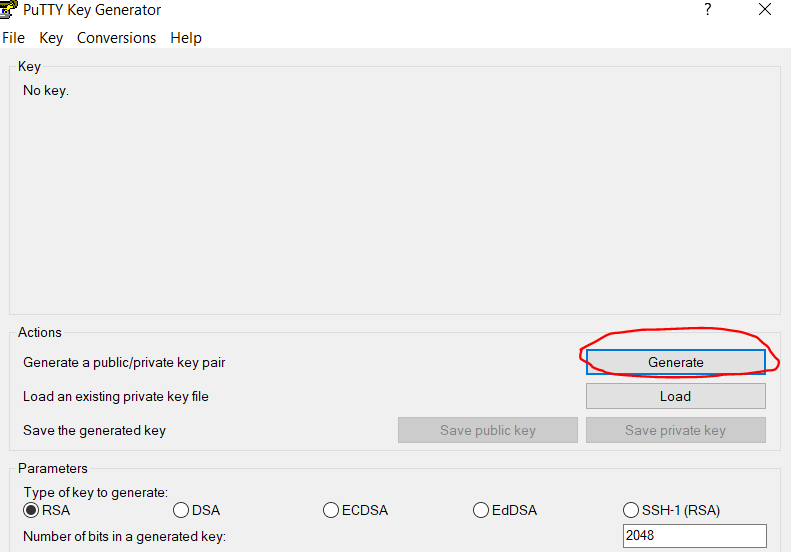
First, we need to create a private key and then link that private key with the putty or any other tool you are using to connect to the instance. In this example, we have used an SSH client called Putty to connect to EC2 instance.
- Install Putty.
- Click on the ‘generate’ button to start creating the private key.
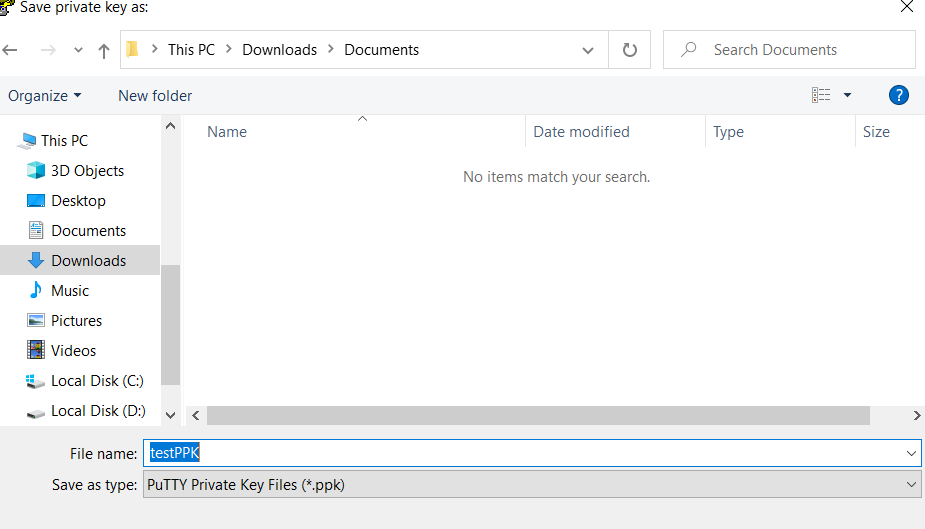
3. After the private key is ready, save it to a secure location.
Connecting to instance using private key
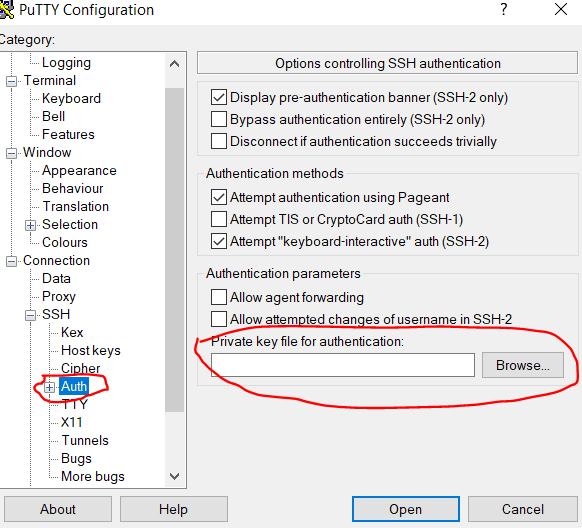
- First, you need to load the private key into putty or any other tool for SSH connection. Note that we are connecting to a Linux instance so putty is the best option here.
- Open Putty and add .ppk file in the authentication menu, and then enter the host DNS in the host name, and click “Open”
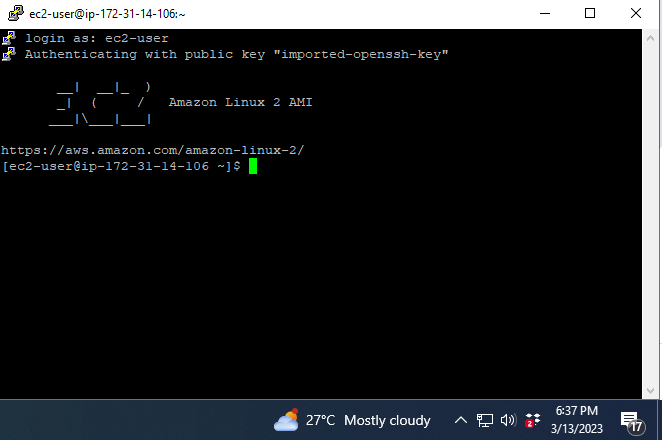
3. You will see the below screen as soon as you are successfully connected to the instance.
Installing a Web Server
A web server is needed to be installed in a Linux instance to host a web application or to serve a web content. Most commonly used web servers are Apache or Nginx. In this tutorial, we will install an Apache web server.
How to install Apache on the EC2 instance and test if the webserver is running
- Apache can be installed by running the following command after connecting to the instance.
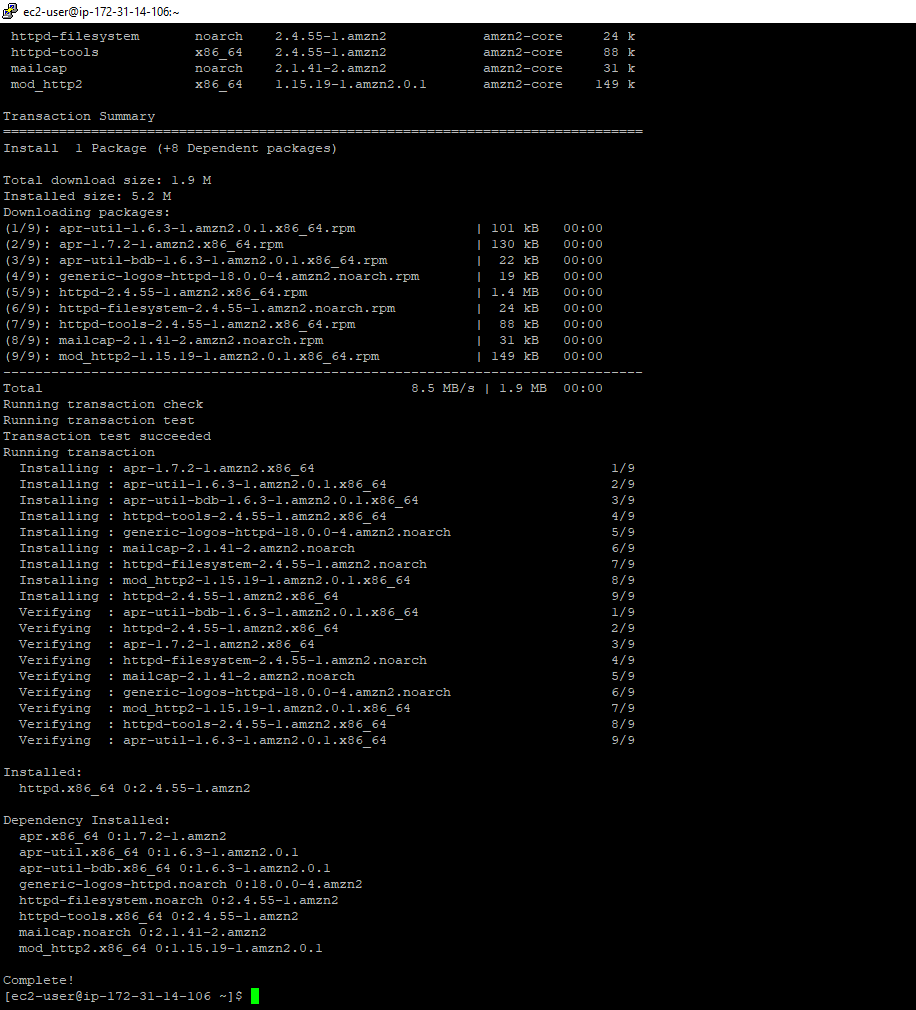
Command: sudo yum install httpd –y
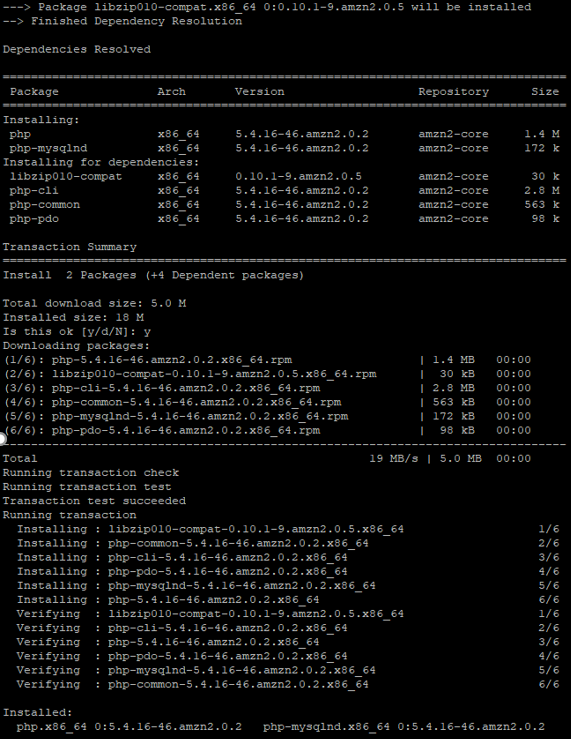
2. Upon successful installation, you will see the following screen – displaying a message of successful installation along with all the dependencies installed.
3. Now that the server is installed, you need to start it with the following command:
Sudo systemctl start httpd

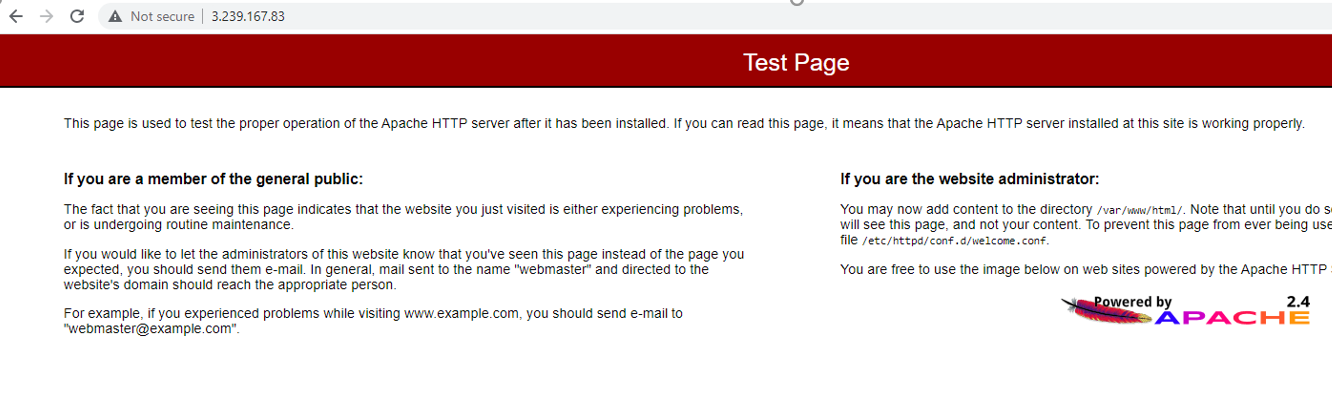
4. We can also verify that Apache is running by accessing the instance public IP address in the web browser
How to configure the web server to serve web pages
- By default, Apache serves content from the /var/www/html directory. We have created a subdirectory in this directory and named it “subdirectory” to store our website content.
Command to create a subdirectory: sudo mkdir /var/www/html/subdirectory
2. Here, we create a index.html file and then open .html file and place some content in it.
3. To create a .html file, the command is: sudo nano index.html
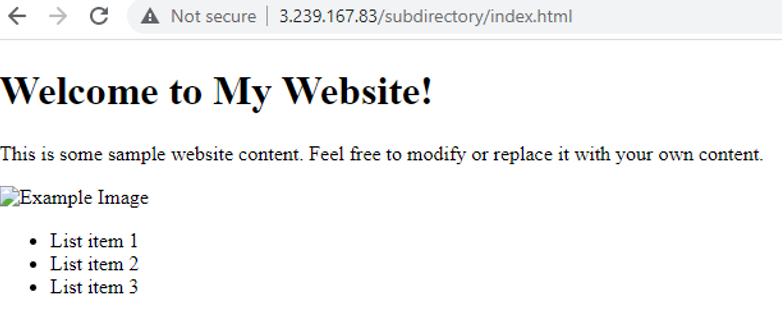
4. Then we will add some content in index.html file and access this page by navigating to the URL in the web browser: http://[BaseIPAddress]/subdirectory/index.html
Setting up a Database
Now we will install MySQL database management system on our Linux instance to serve a dynamic content from a simple .php file
How to install and configure MySQL database server
To install the packages for MySQL and php, we will use the below command:
sudo apt-get install php php-mysql mysql-server
Connect to the database
- After successful installation, you need to run the command mysql –u root –p to connect to the database
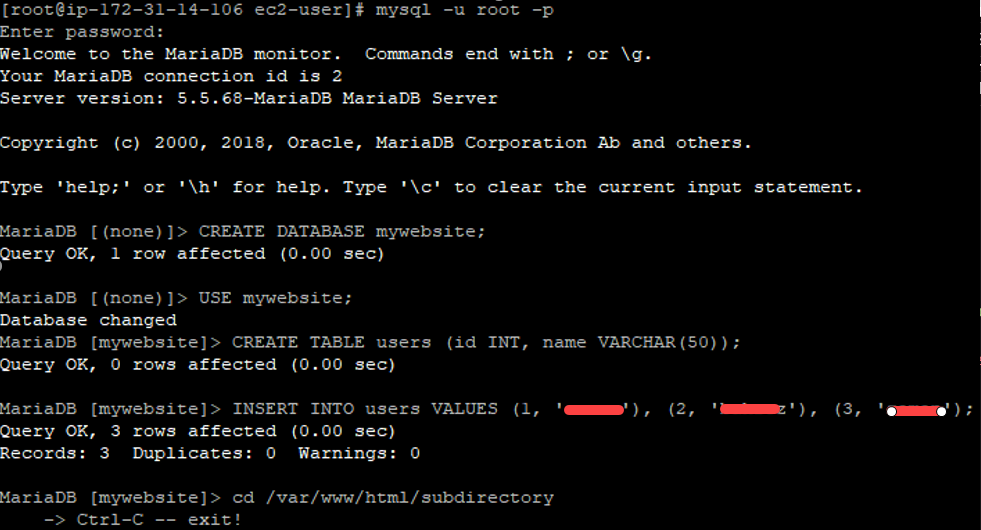
2. To create a new MySQL database use commands:
Create database mywebsite;
Use mywebsite;
3. Create a new table with command:
Create table users(Id int, Name varchar(50));
4. Add values in the table with command:
Insert into users values (1 ,‘user1’), (2, ‘user2’), (3, ‘user3’);
Now that the data has been inserted into the database, let’s link the database with the Apache server.
Link database with the web server
- Create a new .php file in the subdirectory which we created earlier and write some SQL query in it. An example is shown below.
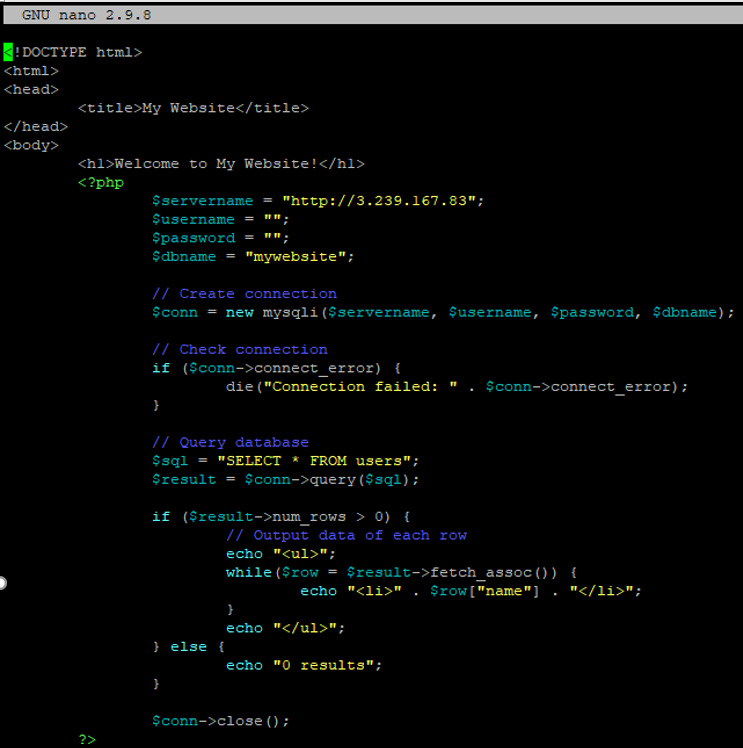
2. After saving the file, reload the web page. You will then see the updated content on the webpage being fetched from the database.
Securing the Server
How to secure the web server by configuring a firewall and securing user accounts
Here are some suggested practices to secure the server and data.
- Configure security groups. Ensure proper white listing of IP’s and security groups.
- Implement Network Access Control Lists (NACLs) for subnet level security.
- Enable Multi-Factor Authentication (MFA) especially for admins and root account.
- Assign IAM roles to EC2 instances.
- Encrypt data at rest and in transit. Enable EBS encryption and use enforce SSL for traffic. For database, enable encryption as well.
- Keep your database server on a private subnet and apply proper whitelisting of incoming traffic.
- Set up Amazon CloudWatch and AWS CloudTrail for proper tracing and logging.
How to use SSL/TLS encryption to secure data transfer
- Obtain an SSL/TLS certificate from a trusted certificate authority (CA). This certificate will be used to encrypt and decrypt data transferred between the web server and clients.
- Install the SSL/TLS certificate on the web server.
- Configure the webserver to require SSL/TLS encryption for all incoming connections. This will ensure that all data transferred between the web server and clients is encrypted.
Instructions for setting up a firewall and enabling SSL/TLS encryption
- We can install a firewall UFW with the following command:
sudo apt-get install ufw
2. By default, UFW is set to block all incoming connections. We can enable SSH by running the following command:
sudo ufw allow ssh
3. We can also enable HTTP and HTTPS traffic by running the following commands:
sudo ufw allow http
sudo ufw allow https
4. Once we have configured UFW, we can enable it by running the following command:
sudo ufw enable
5. And then enable SSL/TLS encryption
Conclusion
This tutorial has served as a thorough walkthrough for setting up a secure Apache web server on an Amazon EC2 instance. Throughout this guide, we’ve explored crucial steps, such as installing the Apache server, configuring a MySQL database server, connecting the Apache server with the database, displaying dynamic content, and applying important security practices. By following these instructions, you’ll be well-equipped to create, deploy, and manage a reliable, secure, high-performing AWS web server. This tutorial lays a strong foundation for web server administration and enables you to develop and maintain scalable web applications in the AWS Cloud with confidence.
To continue learning and improving your cloud skills, we encourage you to explore additional AWS resources and stay up-to-date with the latest best practices. By actively engaging in continuous learning, you’ll be able to further optimize your application’s performance, enhance security, and leverage the full potential of AWS cloud services for your hosting needs. Don’t just use the same example and configuration we mentioned in this tutorial – feel free to try different configurations! The more you experiment, the more knowledge you will gain.
Ready to Take Your Tech Career to the Next Level?
At Digital Cloud Training, we’re dedicated to your success. Our courses offer up-to-date content, equipping you with the expertise to stand out in the competitive tech job market.
Our On-Demand Training allows you to learn at your own pace, fitting seamlessly into your schedule. Dive into the world of cloud computing whenever and wherever suits you best.
But we don’t stop at theory. Our Challenge Labs provide practical, real-world scenarios where you can apply your newfound knowledge without the risk of unexpected cloud costs. Gain hands-on experience and sharpen your skills.
For those seeking an immersive experience, our Cloud Mastery Bootcamp delivers live, job-ready training. Led by industry experts, this accelerated program can get you certified faster than you thought possible.
It’s time to propel your tech career forward. Join us at Digital Cloud Training and unlock your full potential in the world of cloud computing.